
How To Carve Candle Wax
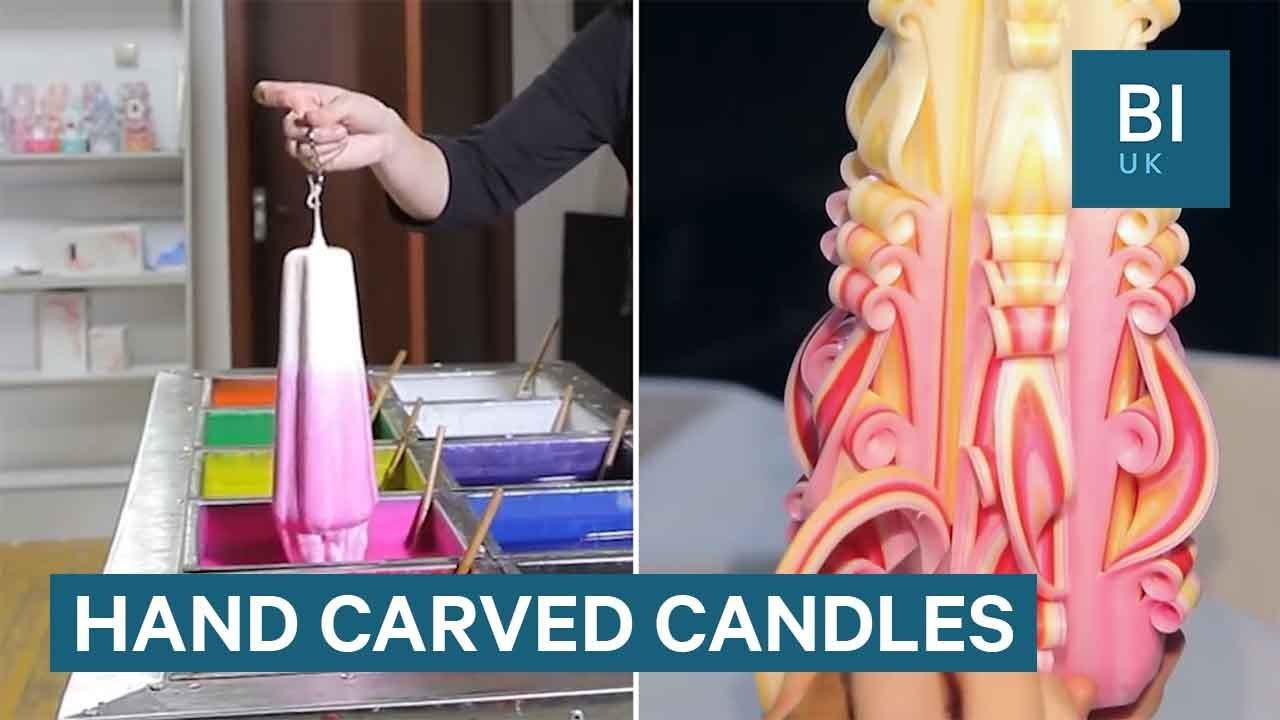
How Hand Carved Candles Are Made Youtube Candle Carving Hand Carved Candles Candles

How To Carve A Candle With Angel Candle Carving Candles Carving

Candle Candle Carving Homemade Candles Candle Carving Diy
Carved Candles How It S Made Youtube Candle Carving Candle Wax Scents Candles

Home Bloom Candle Art Candle Carving Candles

German Carved Wax Candle It Takes A Year Of Apprenticeship To Make Carvings Like This And The Entire Hand Made Piece Must Be Candle Carving Candles Candle Art

086 is merely an average.
How to carve candle wax. Step 2 Place the stoneware plate in the bottom of the soup pot place the pop bottles in the pot and then fill the pot to within an inch of the rim with water. If candle tunneling occurs over time youll end up with a ring of hard wax around the outside of the candle. A mechanical pencil that does not have the lead extended an ice pick a steak knife or a screwdriver all work to engrave a candle.
Try to keep water drops off the candle as you dip. Now before the wax completely cools down you want to quickly carve your design. But seven minutes is a long time.
Maintain the wax at a temperature high enough to keep it melted but cool enough not to strip the wax from the candle when it it dipped. The more wax you have the more round the star becomes and harder to carve. Also after dipping the candle into coloured paraffin wax you may dip also in normal white paraffin wax.
Focus all your positive energy into the intention you want to imprint into the candle. The simple Candlefun special candle carving tools will help a beginner to carve beautiful candles on the first day. The less wax you have the less blankets of heat you have to keep your candle warm as your carving.
Place a sealed bag filled with gravel in the bottom of each of the pop bottles and fill the bottles three-fourths full with candle wax. Now we finally came to the carving part. These beautiful candles are made by partially cutting off - using a sharp knife or a Stanley - slices of a freshly dipped candle and twist or curl them in various shapes and directions.
Melt enough wax in each vat to cover the candle when it is dipped and add the dye gradually to get the color you desire. Normal candle has anywhere from 20 to 30 layers of wax. It would not be so noticeable when you are done.

Baby Boy Carved Candle Gift Carved Candle Great Gift Idea Carved Wax Candle Flower Candle By Little Candle Carving Homemade Natural Candles Homemade Candles
Christmas Is Closer Carved Candles By Fairy Candles Hand Carved Candles Fairy Candles Homemade Candles

Pin On Fashion Forward

Pin By Ashley Tomasini On Two Ladies And A Bunny Carved Candles Hand Carved Candles Fancy Candles Candle Art

Pin Na Nastence Svetylka

Lyseblatt Svechki Izgotovlenie Svechej Svecha

Pin On The Etsy Mini Viral Mall

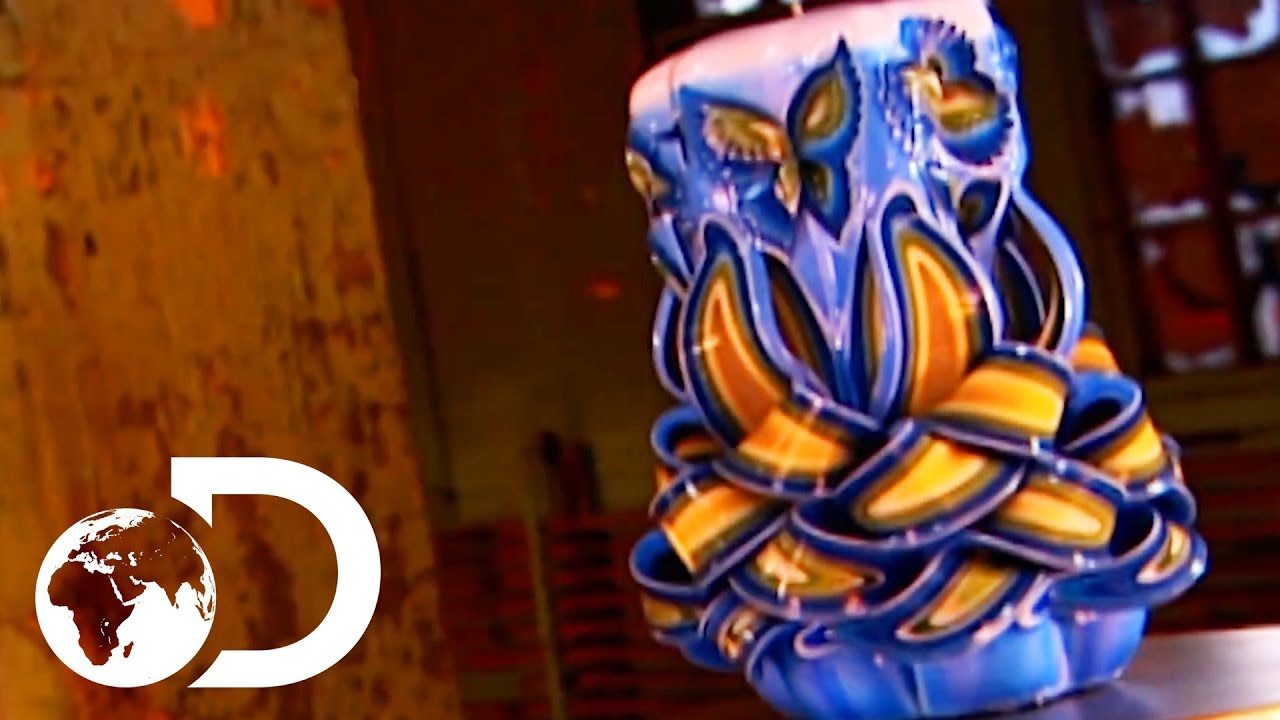
Carved Candle Blue And White Candle Carving Beautiful Candles Candle Art

Taper Candles Candle Set By Primacandle 17 Candle Carving Handmade Candles Hand Carved Candles

Hand Carved Candle Turquoise And White Double Bow Carve 7 Inch Hand Carved Candles Candle Carving Candles

Pin On Cut Curl Candles

Carved Candle Red And White With Soy Wax Interior In Design Double Bows 6 Www Etsy Com Au Shop Fadingtraces Velas Velas Decoradas Navidad

Her Renk Ve Tasarimda El Oymasi Mumlar Her Yere Kargolanir By Mumartmum Candle Art Candle Carving Beautiful Candles
