
How To Prep And Paint A Bathroom Ceiling

5 Tips For Painting A Small Bathroom Happily Ever After Etc Small Bathroom Paint Painting Bathroom Painting Walls Tips

How To Paint A Ceiling White Ceiling Paint Painting Bathroom Painted Ceiling

How To Fix Peeling Paint On The Bathroom Wall Ceiling Small Bathroom Remodel Bathrooms Remodel Small Remodel

Bungalow Revival Details Bungalow Bathroom Bathroom Lighting Bathroom Model

Painting The Ceiling In A Bathroom Home Painters Toronto
What Type Of Paint Do You Need For Bathroom Ceilings Lick

Cut in around the walls and edges first using your paint brush.
How to prep and paint a bathroom ceiling. This helps keep edges wet and allows you to see your progress to ensure an even coat. Dip the roller in paint frequently and avoid letting the roller dry out. Never use the shower before painting a bathroom.
When the chipped paint or paint bubbles are removed the surface will be uneven. Cut in around the edges of the ceiling and around any fixtures - cutting in is where use a paint brush to paint areas that are too tight for rollers such as at corners or the trim. Work in W sections until youve applied your first coat.
Using a paintbrush cut in around lights fans moldings and shower trim first. For smooth ceilings use a low nap roller. You dont want it dripping with paint but keeping it wet helps prevent lap lines.
Prep this the night before if you want a head start. Cherie says to opt for a ceiling paint that has anti-mould properties specifically designed for a bathroom. Take a paint roller and paint tray using it to apply your first coat.
Roll the main part of the ceiling with a medium-nap roller. Use a patching compound to even out the bathroom walls and the ceiling. A good DIY cleaning solution for your bathroom ceiling is three parts water to one part bleach.
Tape off the ceiling trim bathtub surround backsplash and other areas that will not be painted. To begin I used a paint scraper to scrape away all the loose paint. Priming is absolutely essential because the paint wont last very long otherwise.
Pin On For The Home
What Type Of Paint Do You Need For Bathroom Ceilings Lick

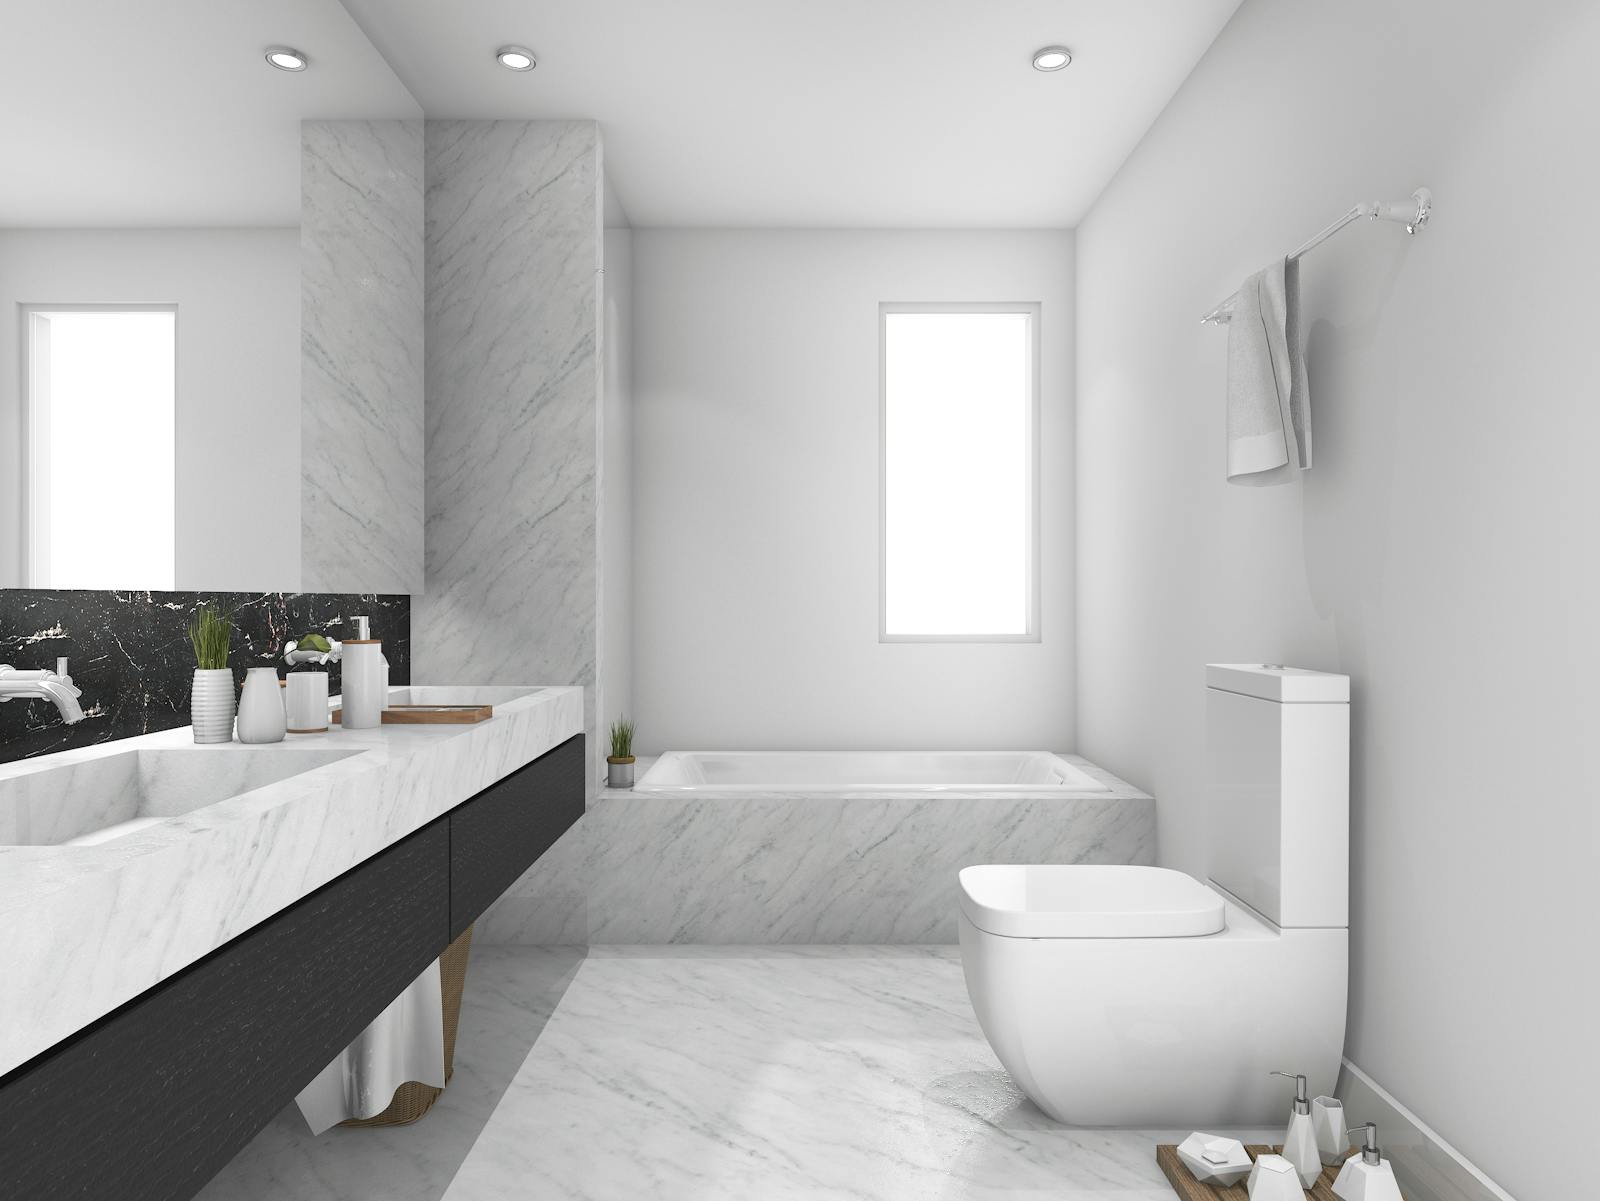
Gorgeous White And Gray Marble Bathroom Small Bathroom Bathrooms Remodel Bathroom Makeover

Painting A Bathroom In Simple Steps Guides

What Kind Of Paint Should You Use For A Bathroom Ceiling

How To Paint Your Trim White Painting Trim Painting Trim White Paint Colors For Living Room

Trend Alert Here S How To Perfect The Painted Ceiling Look Painted Ceiling Colored Ceiling Bedroom Ceiling Paint Colors

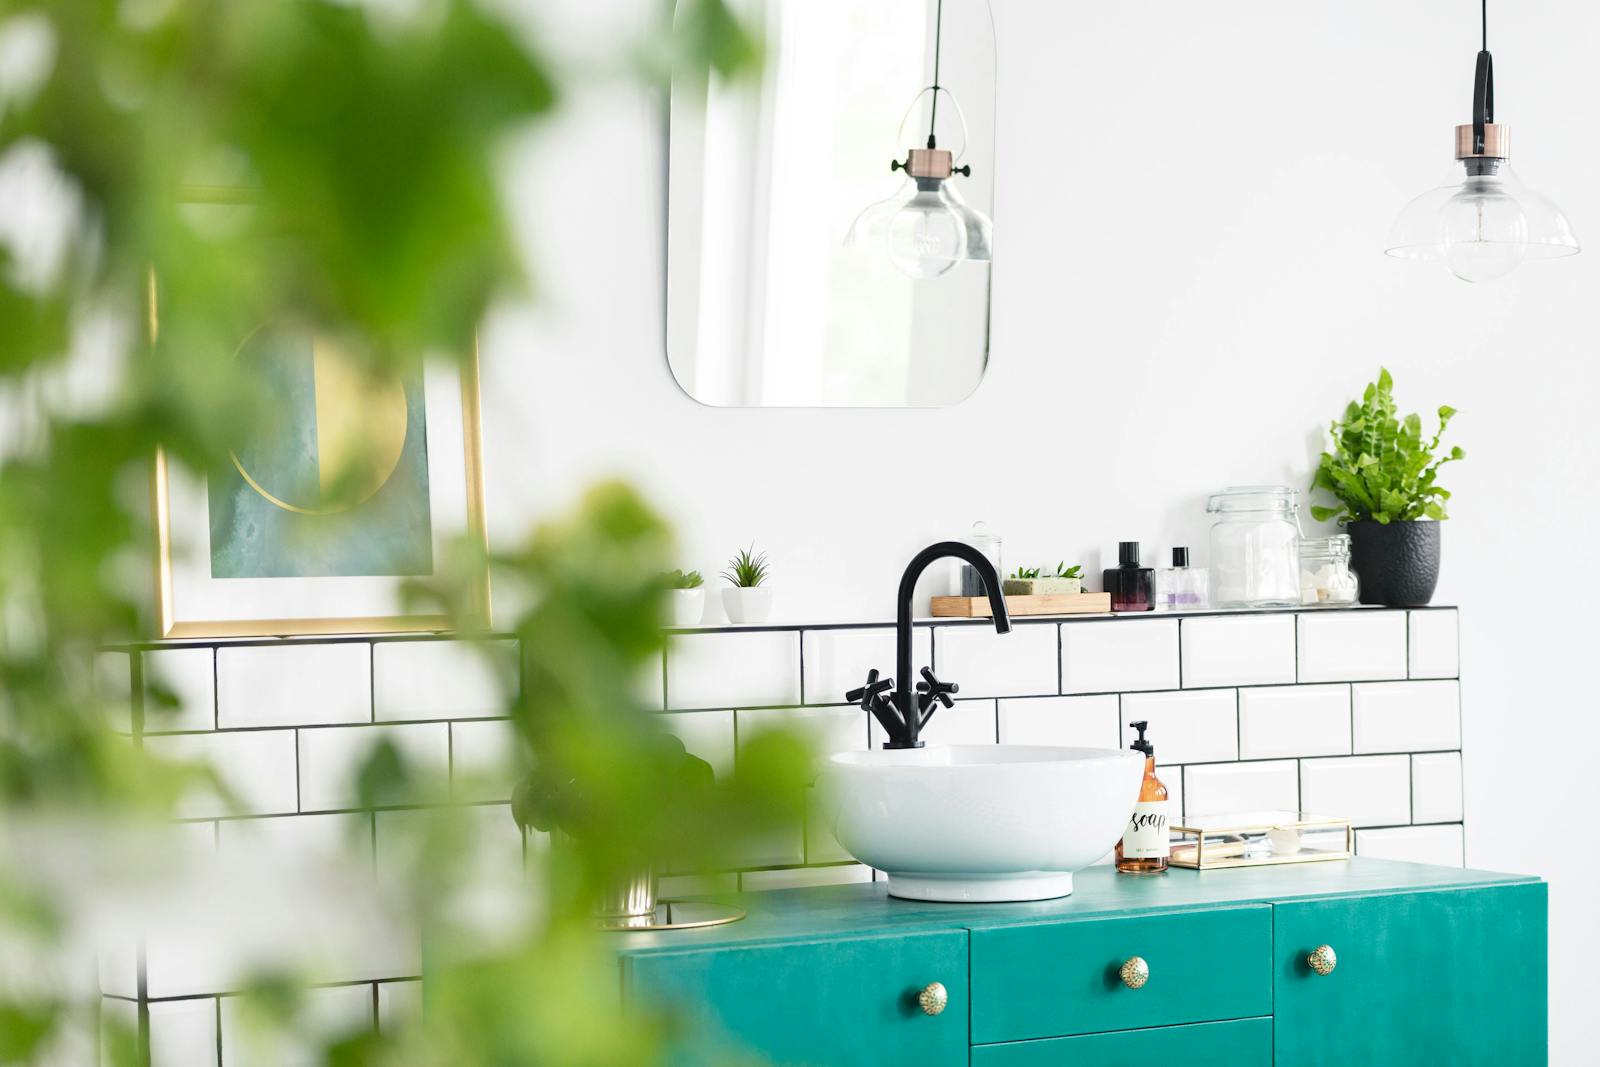
East Coast Tradition Meets Socal Comfort In Manhattan Beach Rue Small Dark Bathroom White Bathroom Tiles Green Cabinets Bathroom

Pin On Home Improvement

Sometimes There Is A Lot Of Prep Required For Just A Small Job Dropsheeteverything Whatwedo Forestcit In 2020 Paint Companies Quality Paint Lighted Bathroom Mirror

Modern Spray Paint Basement Ceiling White Basement Ceiling Basement Ceiling Painted Unfinished Basement Ceiling

Pin On Bathrooms

Fall S Most Stylish Paint Color Trends Have Us Swooning Rental Bathroom Round Mirror Bathroom Bathroom
