How To Make Text Look Like Wood Carving In Photoshop

Carved Text Effect Photoshop Tutorial Youtube

How To Give Carved Wood Effect To Your Logo In Photoshop Photoshop Tutorial Youtube

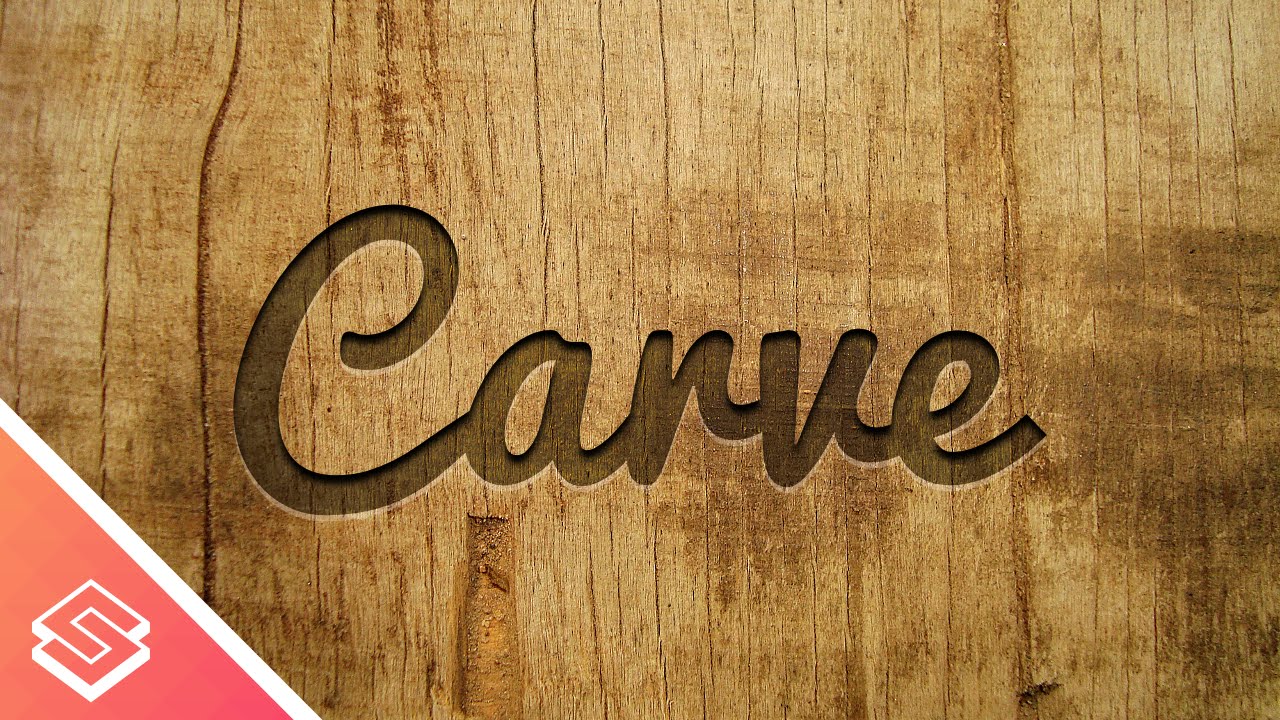
How To Create Wood Carved Text Effect In Adobe Photoshop Youtube

Cutting Wood Logo Text Effect Photoshop Tutorial Youtube

How To Carve Wooden Chiseled Effect In Adobe Photoshop Cs6 Tutorial Youtube

Photoshop Cutting Wood Text Effect Tutorial Youtube
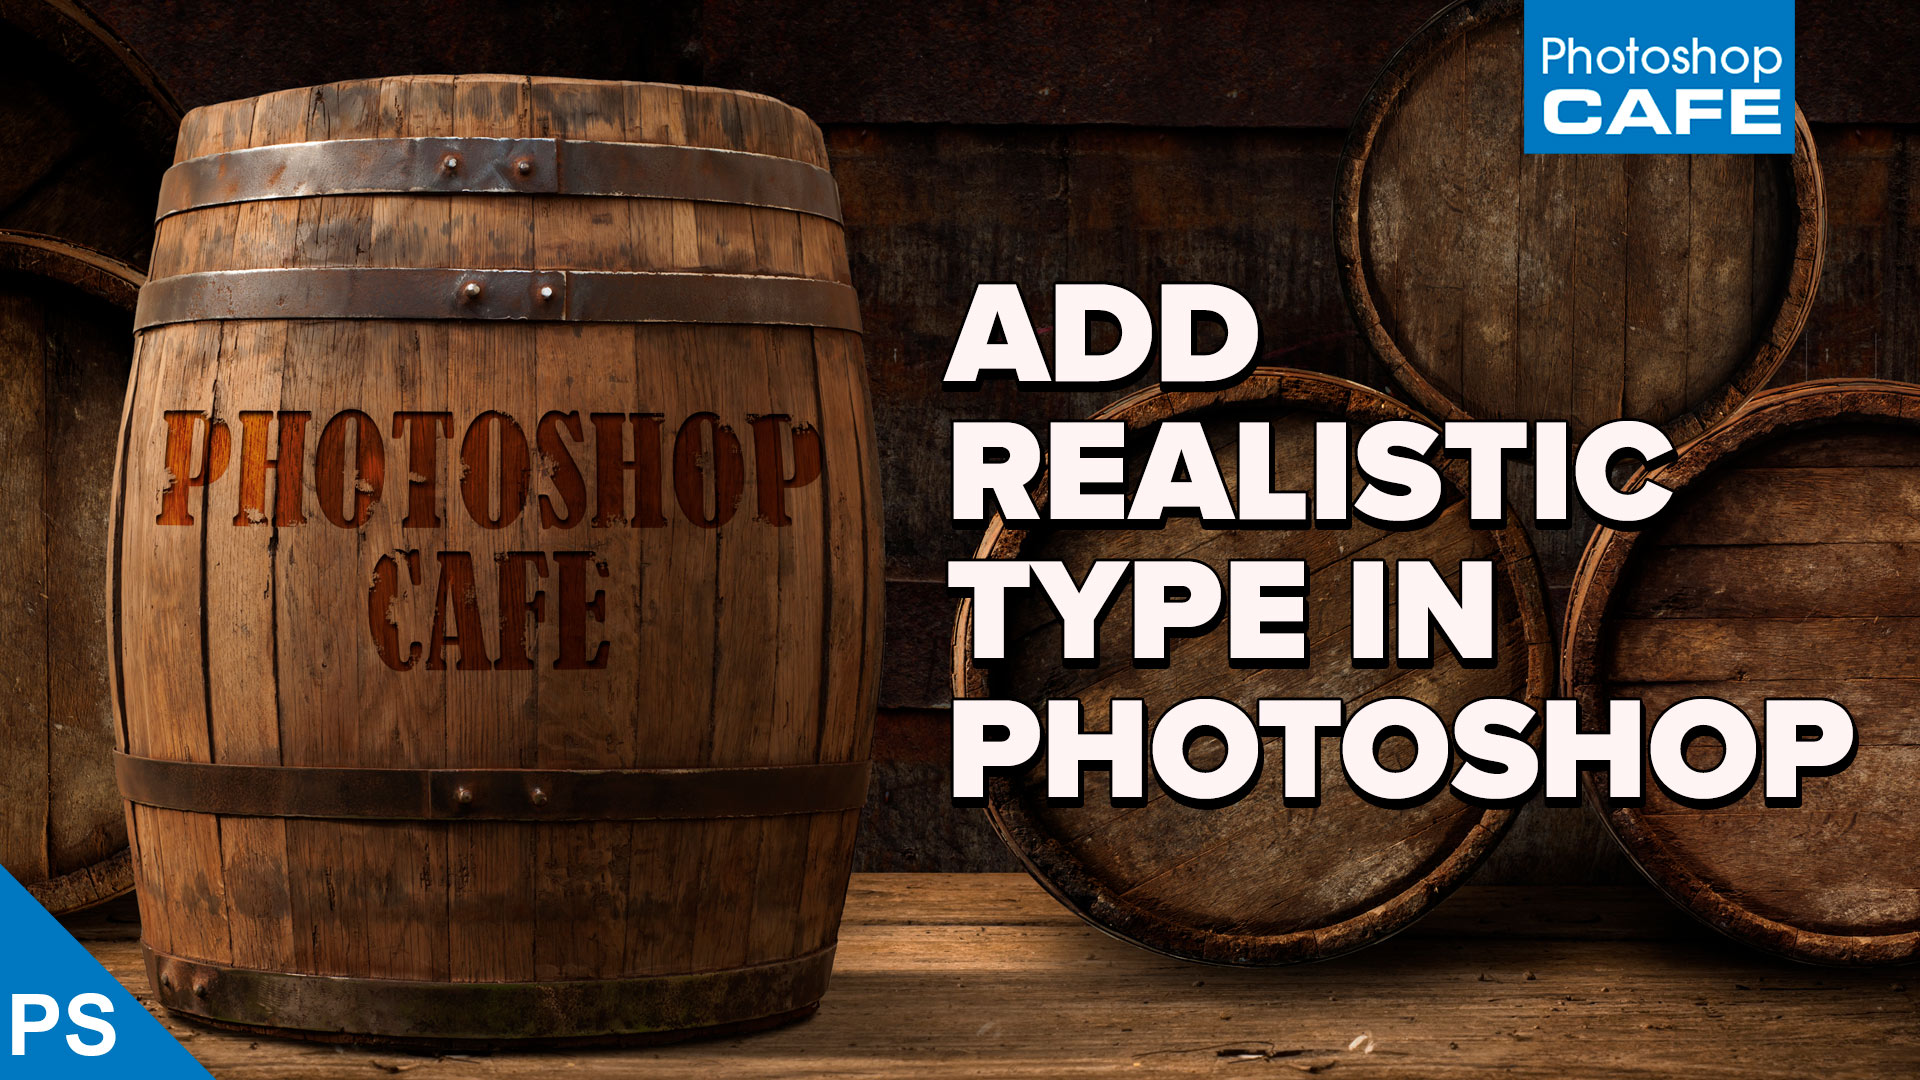
Use a metal texture and any shape you want for the sign.
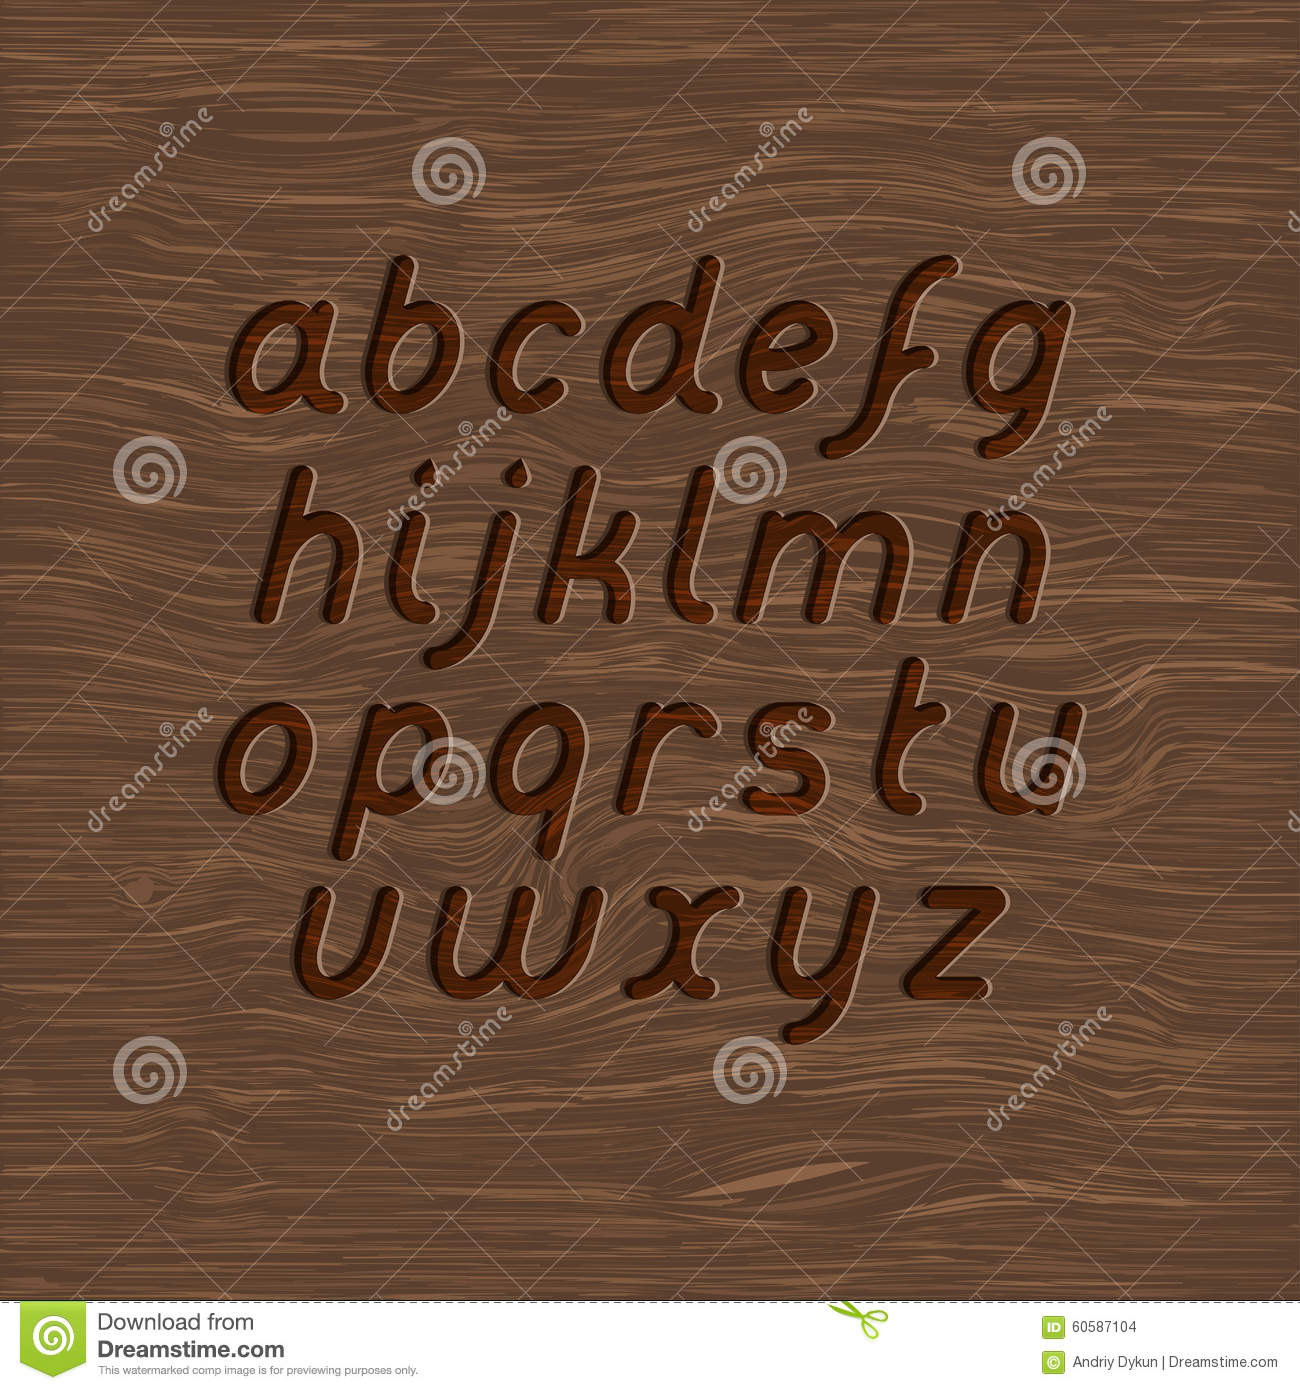
How to make text look like wood carving in photoshop. Use the CTRLV shortcut to automatically paste as pixels. You can use the layer style you created for the inscription on any new layer in case you want to write something else on the same wooden surface. Simply open the file open the smart object layer and then change the text to whatever you want.
Heres the final image. Add text to the image. Moving on duplicate the channel by right-clicking on it and go duplicate channel.
Well be using Photoshop layer styles to achieve the effect as well as the somewhat obscure Type Mask tool. Now lets make some final touches. Step 2 Add Some Text.
This is perfect for the technique as we do not need to work on. And of course the wood texture can be replaced with any other wooden surface or with other textures like stone leather etc. Open the above image in Photoshop and open the channels panel navigate to Windows Channel and create a new channel layer.
Paste the logo text or artwork that you want to emboss into the document using the paste as pixels option. You can replace the logo used in the tutorial with your own logo with any font type any text size any vector shape etc. You can combine the wood text with cork texture andor grass texture for creating unique effects.
Take a 1px eraser and make strokes along the wood lines and cracks. Photoshop Tutorial Tags. We can type our text as usual but when its committed instead of creating a layer with the text it creates a selection.

How To Carve Text Logo In Wood Steel Metal Photoshop Tutorial Youtube

Exclusive Good Photoshop Actions Smoke Photoshop For Beginners Photo Editing Photoshop Art Very Cool H Photoshop Text Effects Photoshop Photoshop Tutorial Cs6
Inkscape Tutorial Carved Wood Effect Wood Carving Faces Carving Wood Carving Art

How To Create A Woodcut Carving From A Photo Photoshop Tutorial For Beginners Devil Psd
Photoshop Carved Text Effect How To Carve Text Into A Surface Cs5 Cs6 Cc Tutorial Video Dailymotion

Wood Engraved Logo Mockup With Photoshop

Photo In Wood Engrave Photo Effects In Photoshop Tutorial
How To Blend Text Into A Photo Realistically In Adobe Photoshop Tutorial Photoshopcafe

Deboss Effect Affinity On Desktop Questions Mac And Windows Affinity Forum
Create Realistic Logo Wood Carving By Deanyeong Fiverr

Photoshop Wood Text Effect Photoshop Cs6 Iceflowstudios Photoshop Text Effects Photoshop Photoshop Typography

15 Cool Photoshop Text Effect Tutorials Filtergrade

Img 7068 Jpg Imagen Jpeg 984 1600 Pixeles Escalado 82 Letras Goticas Abecedario Letra Gotica Abecedario