
How To Make A Spoon Rest Out Of Wood

Pin On Woodworking By David Macleod

Olive Wood Spoon Rest Wood Spoon Spoon Rest Olive Wood

Handmade Wood Spoon Rest Handmade Wood Spoon Wood Spoon Handmade Wood

Concrete Spoon Rest Power Carving Mold Making Youtube

Hand Carved Spoon Rest Handcrafted Wooden Spoon Rest Etsy In 2021 Hand Carved Wood Spoon Hand Carved Spoon Wood Spoon Carving

How To Make A Bamboo Spoon Rest From Reclaimed Flooring Youtube
Cut out the outline of the spoon.
How to make a spoon rest out of wood. All items are individually made by me and one of a kind. There are rubber feet on the bottom to help protect surfaces and prevent the spoon rest. Sketch out the inside of the bowl freehand leaving a rim of about 116.
Deep enough that a spoon could rest comfortably on top. Step 3 Cut the spoon out on the bandsaw. You can just sand until you get the shape you want.
Carve the bowl until it is a few millimeters above the line you made on the side of the wood as the outline for the rest of the spoon. Use sandpaper to clean off the edges and smooth them off nicely. Using an ink pad and a sponge apply ink to the stencil by rubbing the sponge in ink and then rubbing over the stencil.
DESIGNATED SPOT FOR COOKING UTENSILS. There was a lot of sanding in making the spoon. Apply the vinyl stencil to the handle of the wooden spoon press into place.
Allowing wood spoons to air dry leaves them in contact with water too long. Begin by Dishing the Bowl. With the dimensions of this board I should be able to make up to 4 spoons.
I paint them to match my kitchens theme apples and roosters some are decoupaged. You can only rest one long spoon on it and if the handle extends over the edge of your stove or counter it will flip out and create. Once the shape was like I wanted it I smoothed it out with an orbital sander and a finer grit sand paper.

Spoon Rest Contoured Modern Wood Made In Maine Etsy In 2021 Wood Spoon Carving Spoon Rest Wooden Spoons

Spoon Rest Spoon Holder Ceramic Spoon Restlove Turquoise Etsy Ceramic Spoons Ceramic Spoon Rest Spoon Holder Ceramic
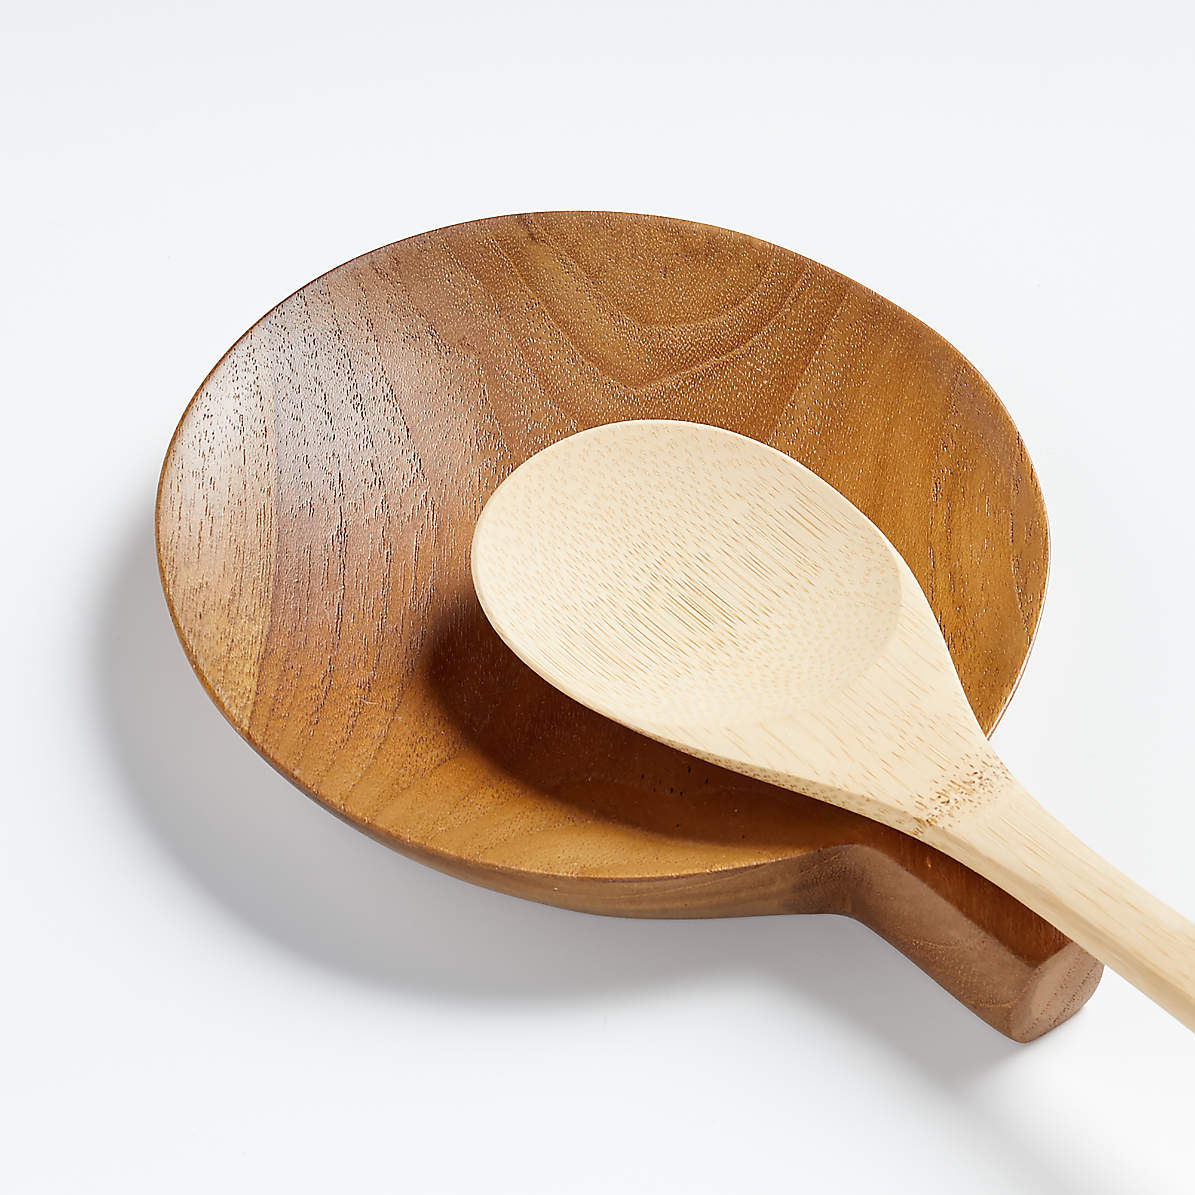
Wood Spoon Rest Reviews Crate And Barrel

Magnolia Established Spoon Rest Magnolia Fall Collection 2019 Chip Joanna Gaines Magnolia Market W Pottery Spoon Rest Spoon Rest Pottery Spoon Rest
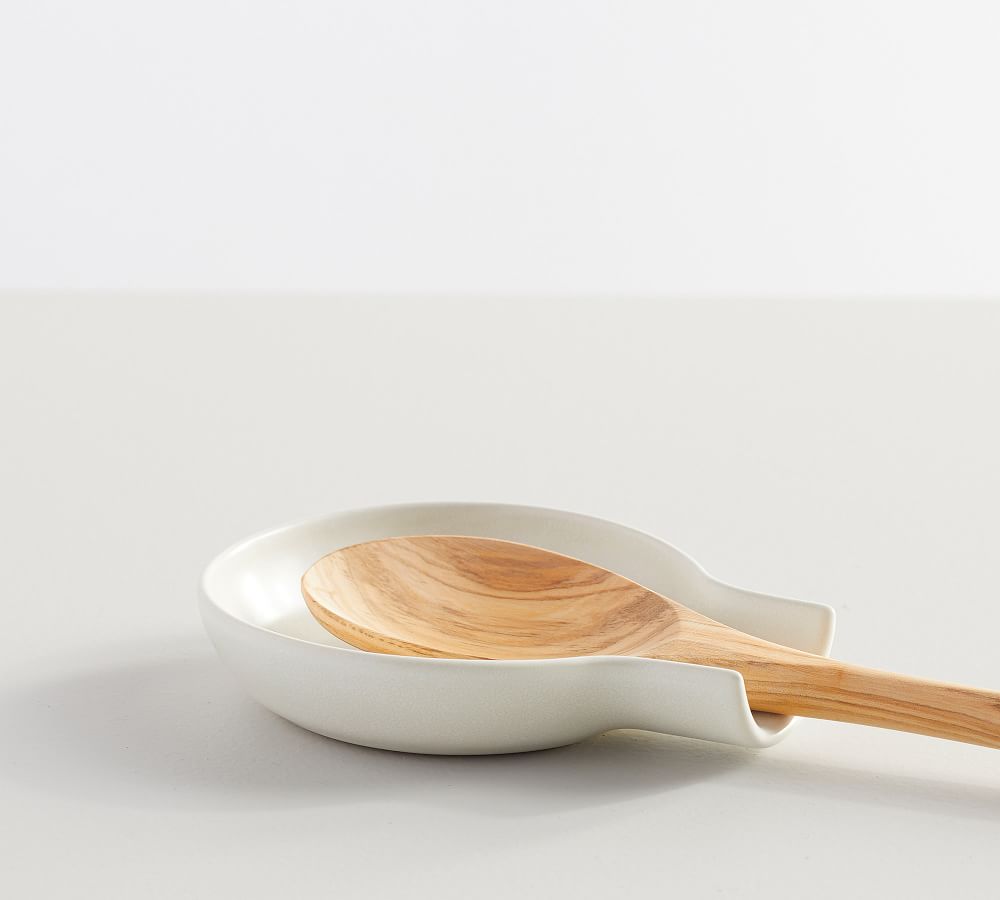
Mason Stoneware Spoon Rest Pottery Barn

Spoon Rest Diy Spoon Rest Fractal Wood Burning Epoxy Wood

Ceramic Spoon Rest Home Decor Handmade Spoon Holder Etsy Ceramic Spoon Rest Ceramic Spoons Spoon Holder

Pin On American Made Home

Pin On Spoons

Wooden Spoons Spoon Handmade Wooden

Wooden Long Spoon Carved Out Of Pine Wood Woodcarving Kitchenutensils

Stirring The Pot Spoon Rest Funny Gift Social Media Facebook In 2021 Spoon Rest Spoon Rest Diy Gifts For Cooks

112 Otmetok Nravitsya 1 Kommentariev Eddie Thomsen Eddiethomsen V Instagram Tried Out This Little Ramen St Wood Spoon Carving Wood Spoon Wooden Spoons
