
How Do You Prepare Varnished Wood For Painting

How To Paint Over Varnish Polyurethane Seals And More Without Sandin Latex Agent
How Not To Paint Over Varnish Youtube

Painting Stained Trim Modern Look Sells Homes Quicker Brad The Painter

How To Paint Varnished Cupboards 6 Steps With Pictures

How To Paint Over Stained Varnish Wood Without Sanding Youtube
What Kind Of Paint Do You Use On Stained Wood Answered

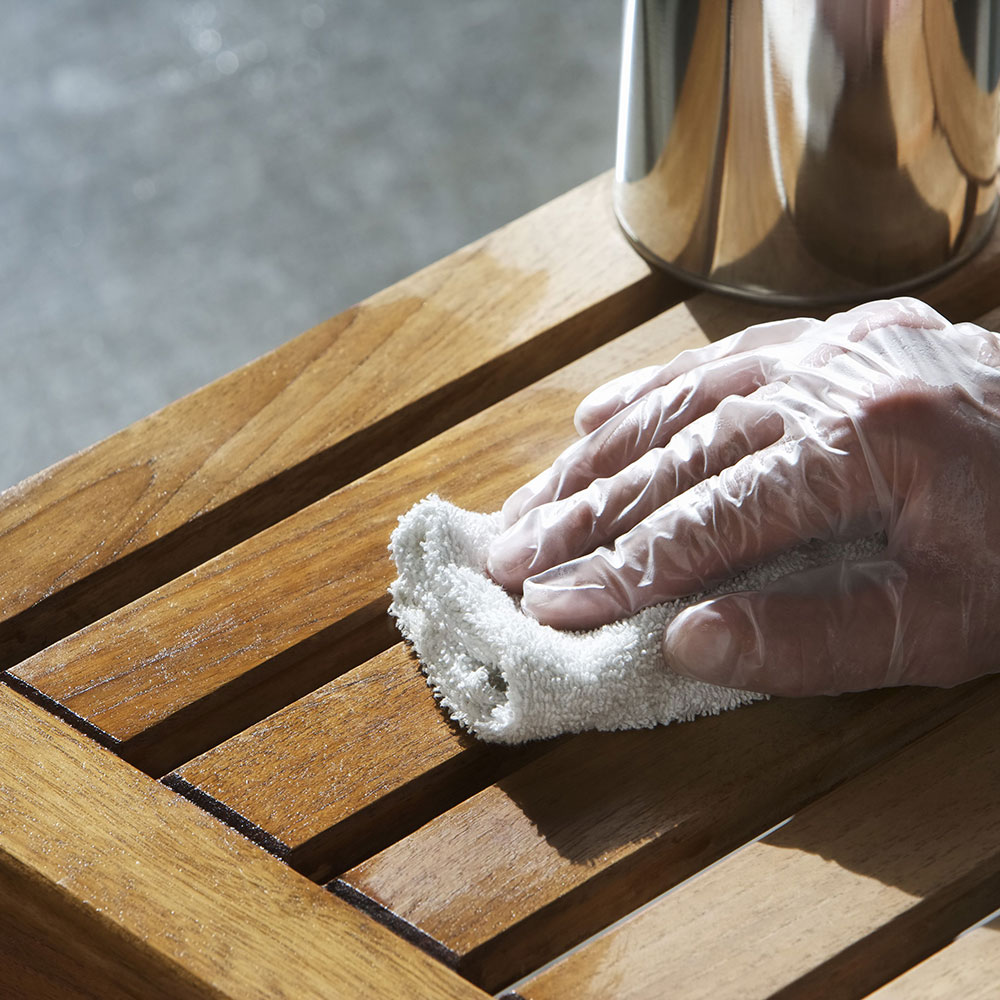
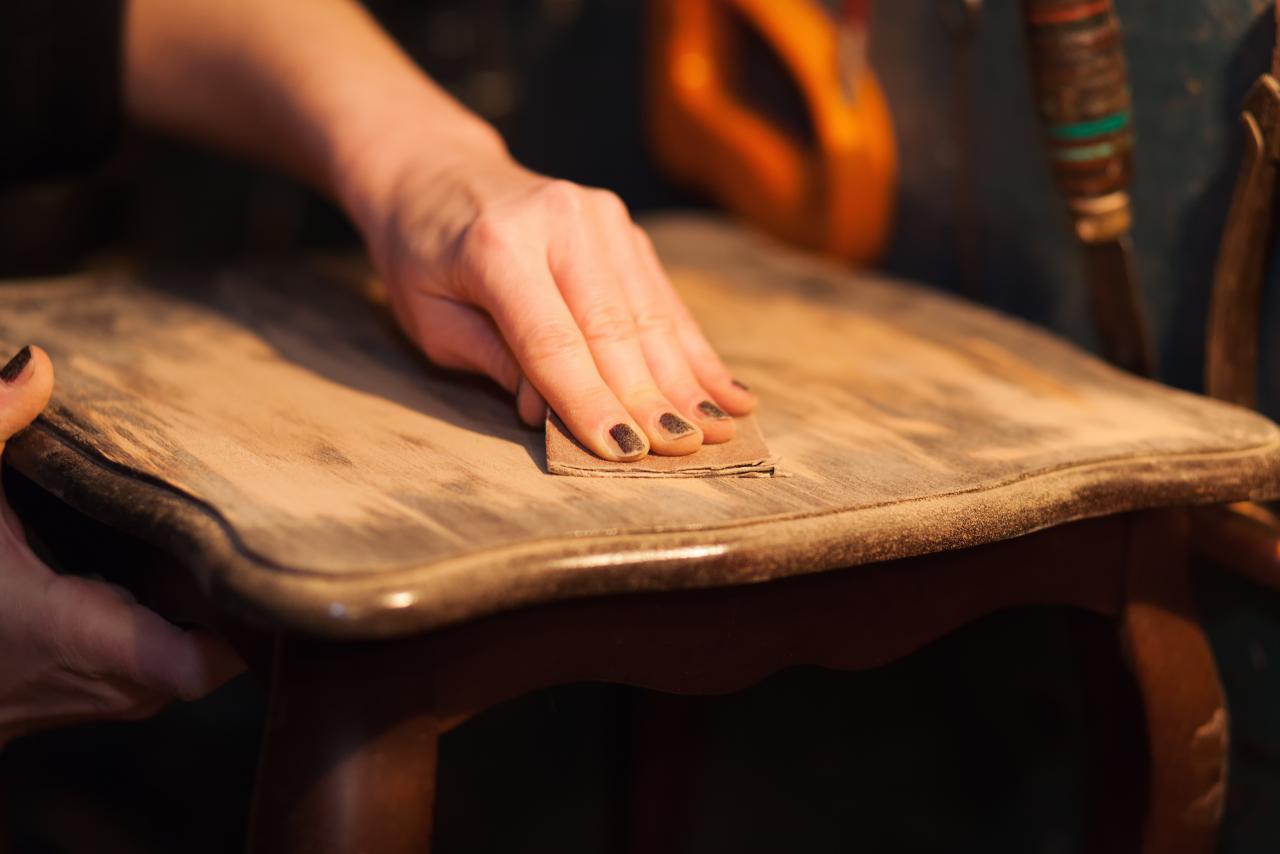
Firstly preparing wood for painting need some cleaning.
How do you prepare varnished wood for painting. I always encourage scuff sanding to promote further adhesion. A clean working surface will make it easier to remove the varnish and will assure that dirt grease and dust wont mix with the primer or paint. Prepare the cupboard surfaces for painting.
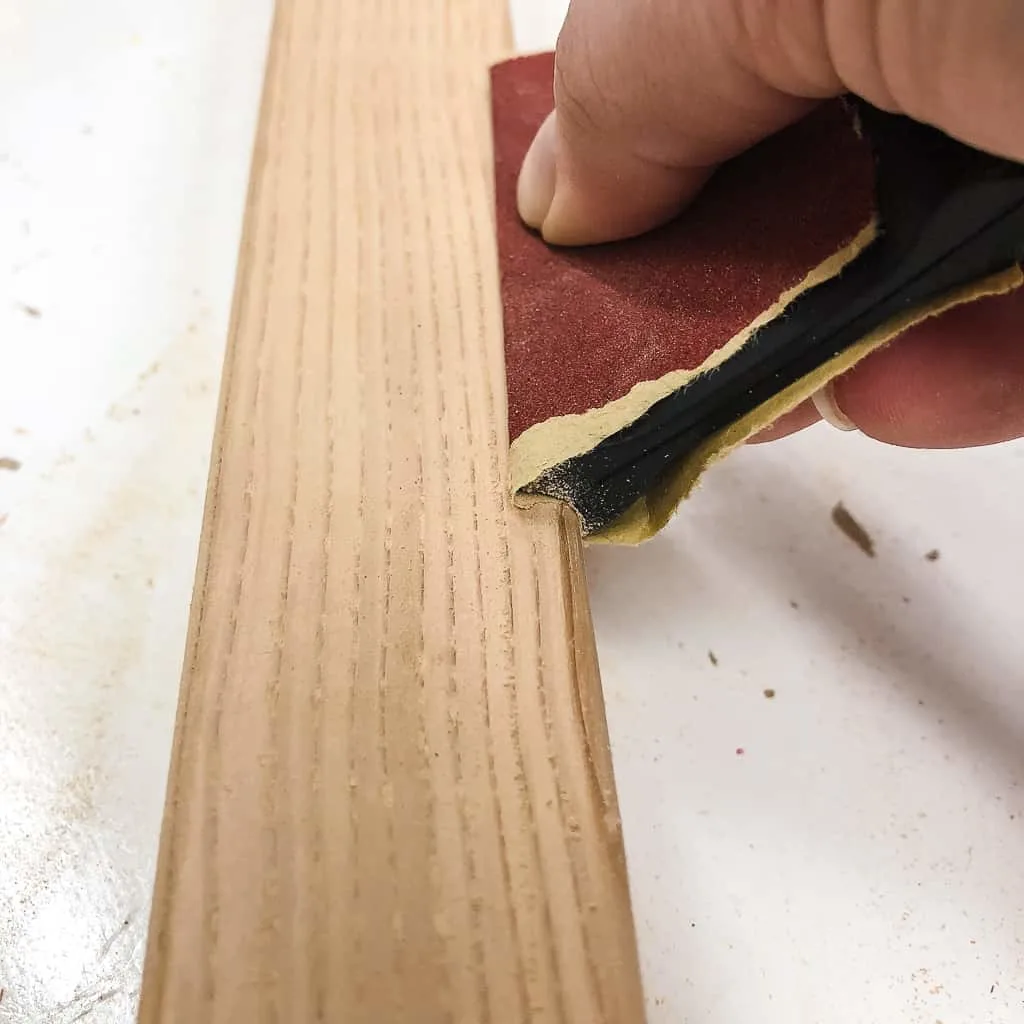
You can save loads of time and money with the following steps. Before you paint varnished cupboards you must remove the high-gloss finish. Sand the trim with a 180-grit sanding sponge or sandpaper.
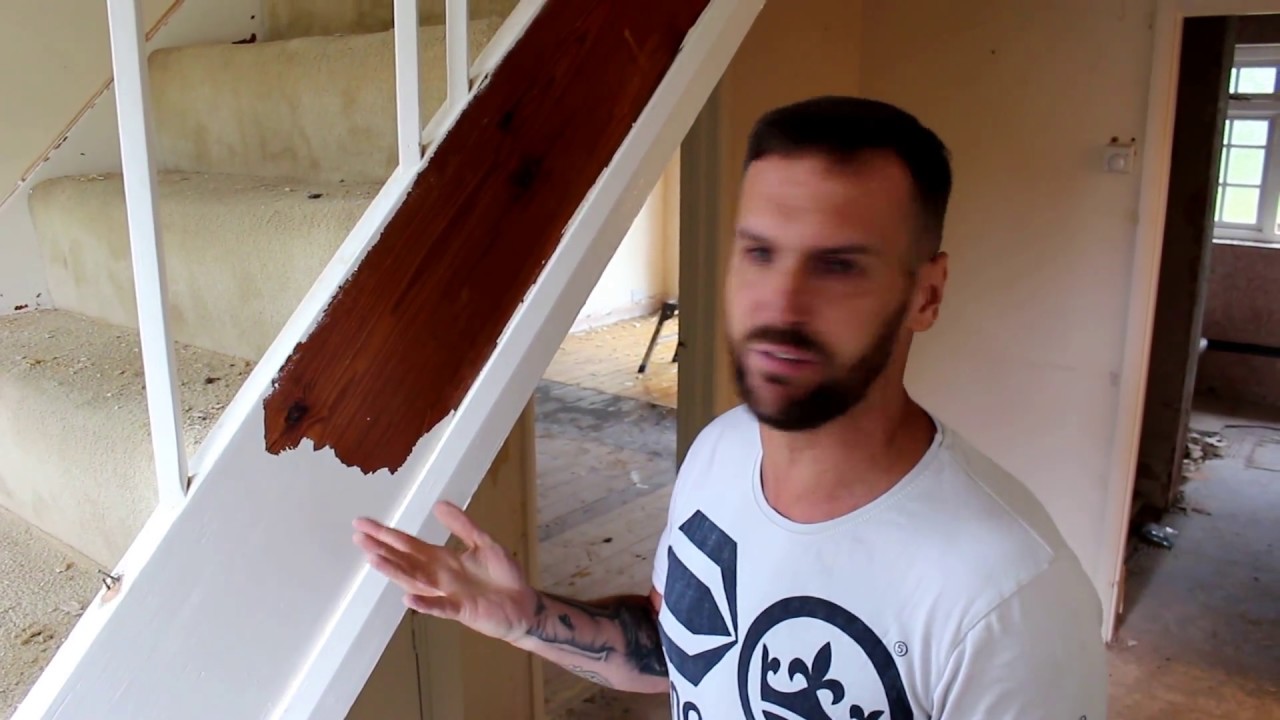
If you have arrived at this DIY guide looking to find out how to paint over varnish or a timber surface thats previously been varnished you have come to the right place. Just after the primed wood dried completely use a medium to fine-grit sandpaper to mildly sand the primed wood. You may do this either of 2 ways.
After preparing the surface apply a test area of the bonding primer allow to dry properly and test for adhesion. For most work start with 100-grit then use 150-grit and end with 220-grit. Purchase My recommended Tools Brushes Paints and Primers Here.
Take an orbital sander to cabinet surfaces you plan on painting and sand them down until they are no longer shiny. My final tip for painting varnished wood is to use a high quality bonding primer first. Testing tips for painting kitchen cabinets.
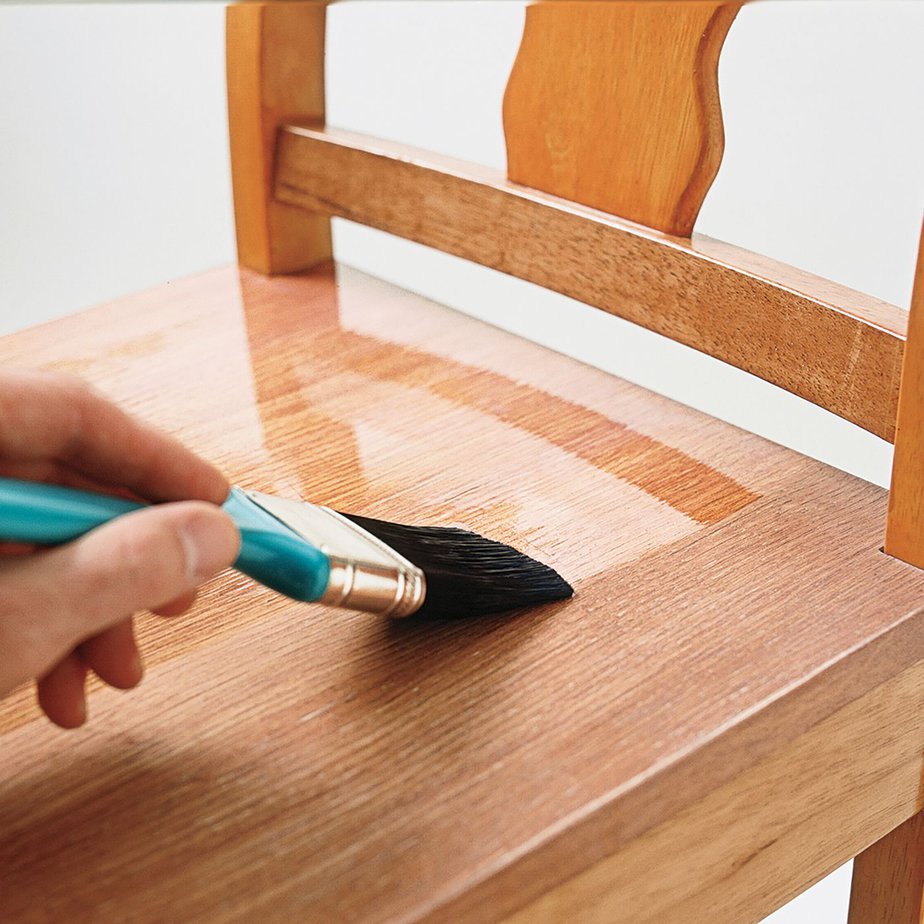
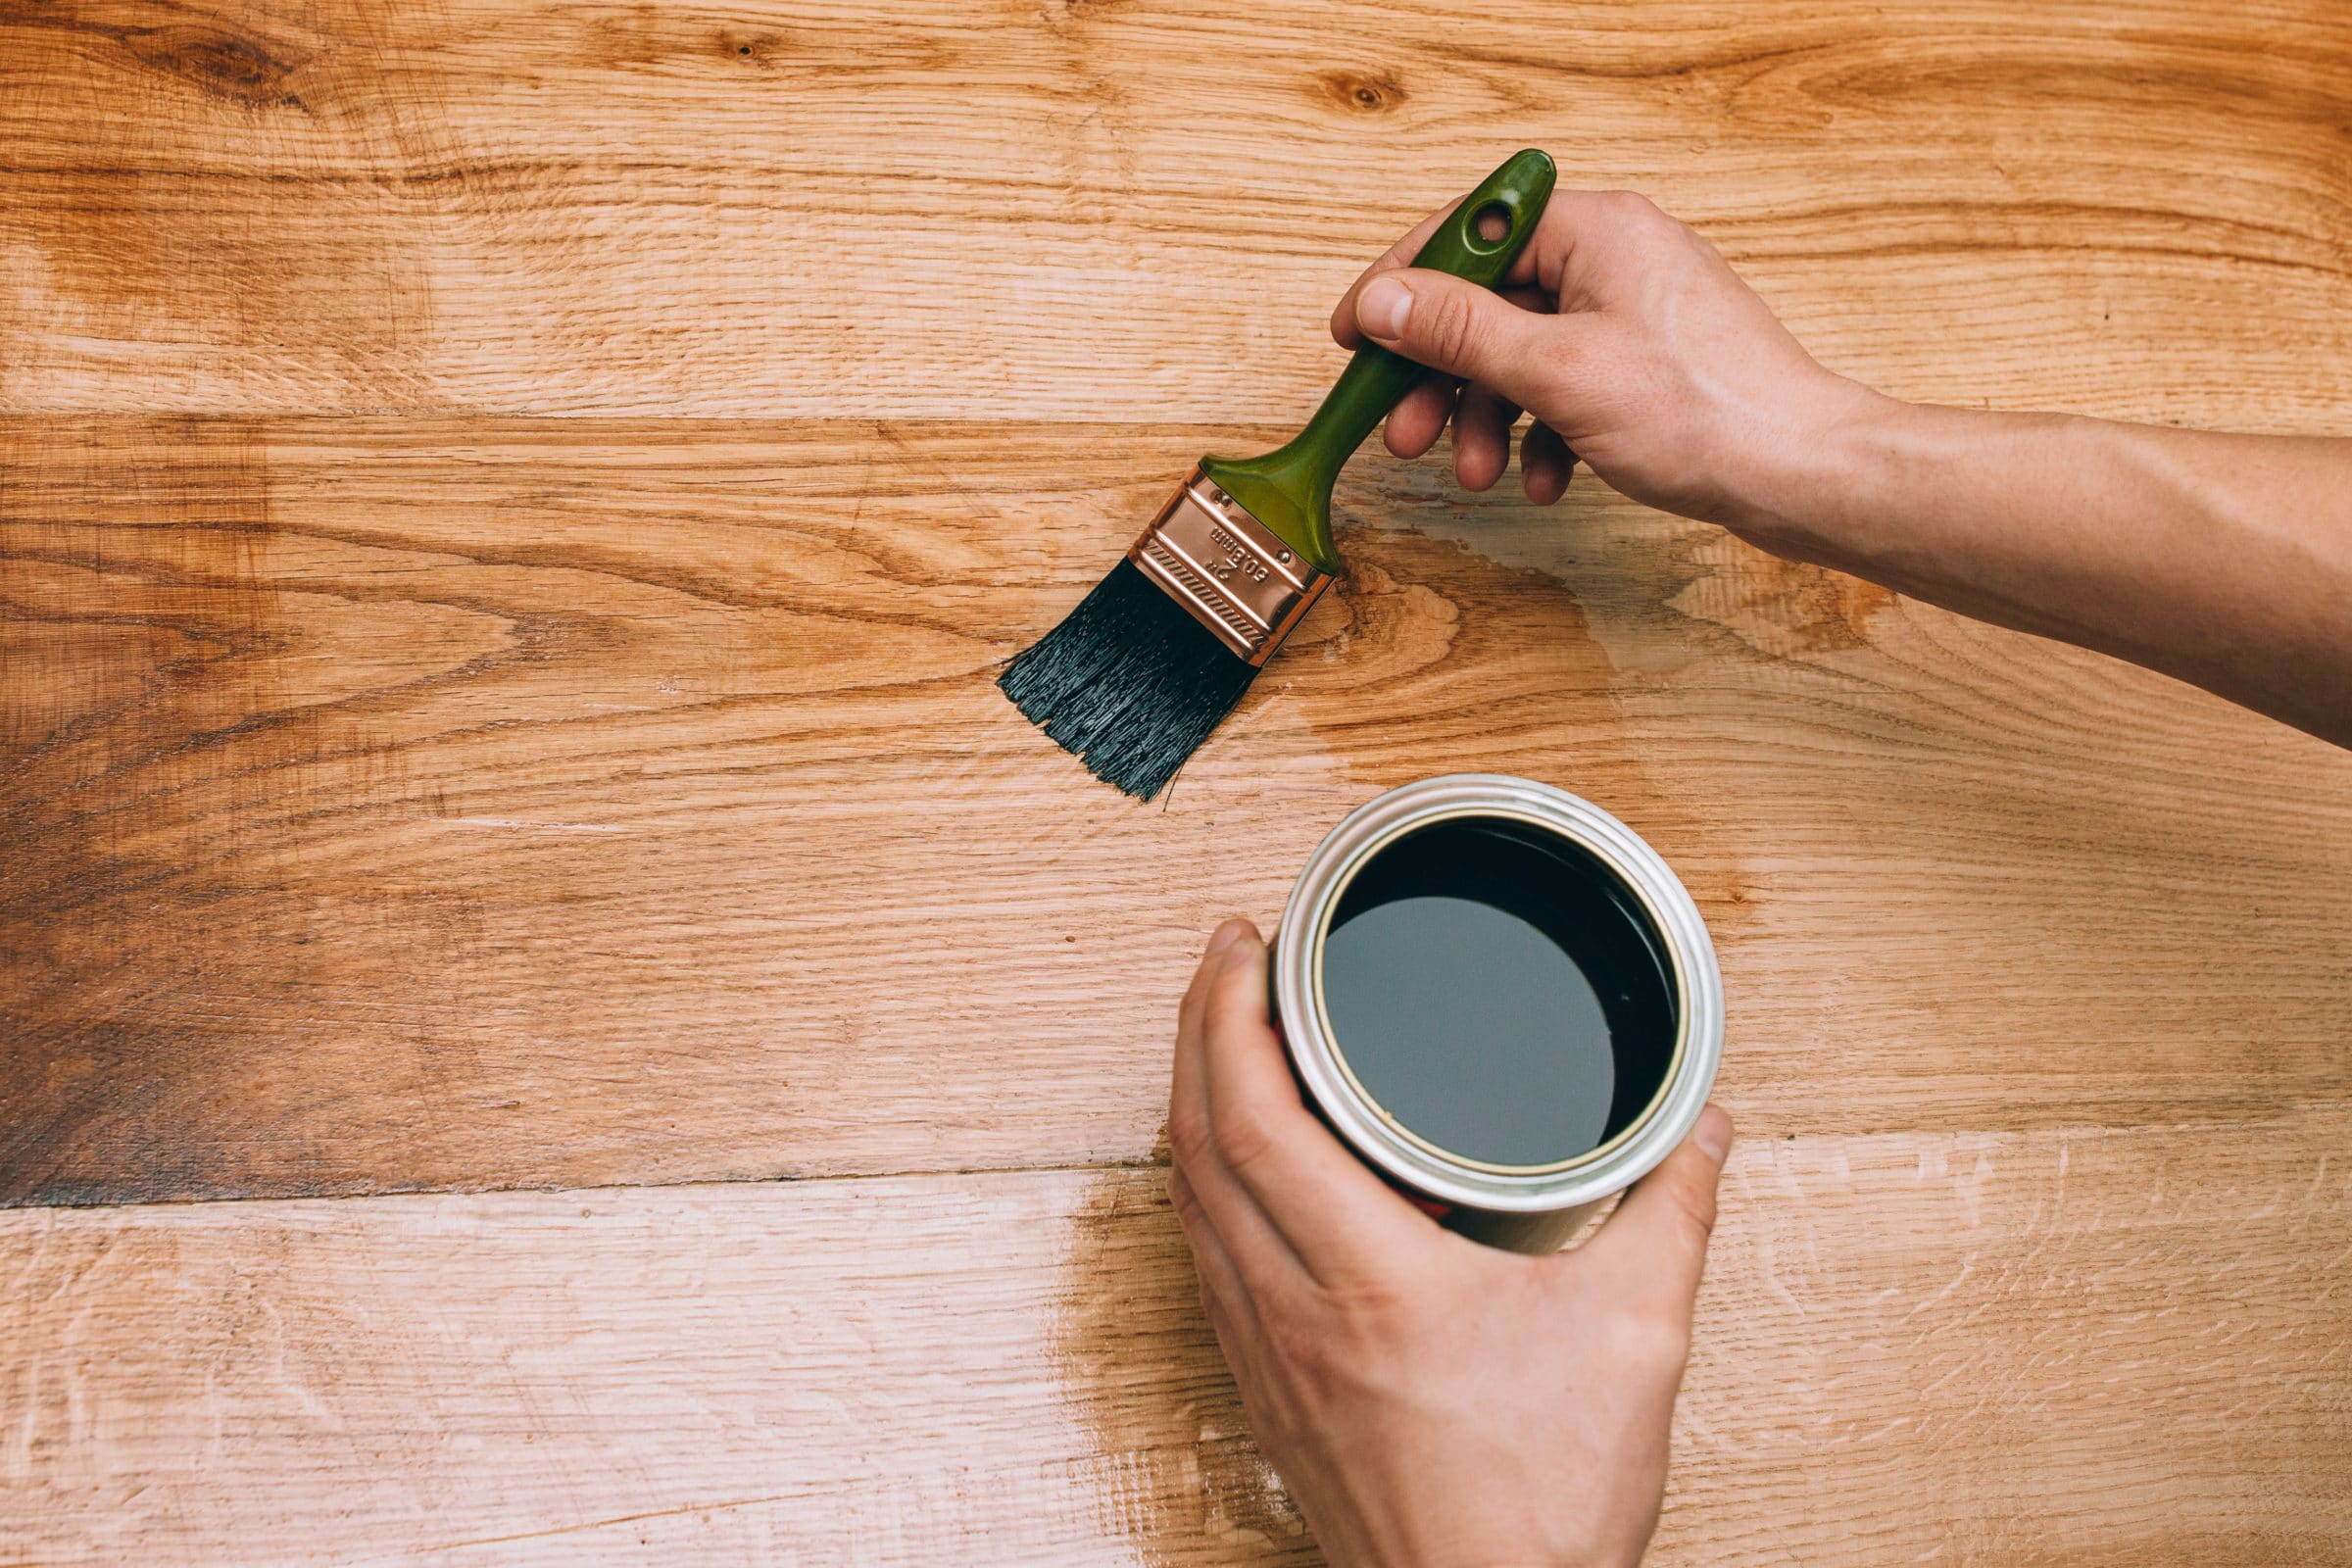
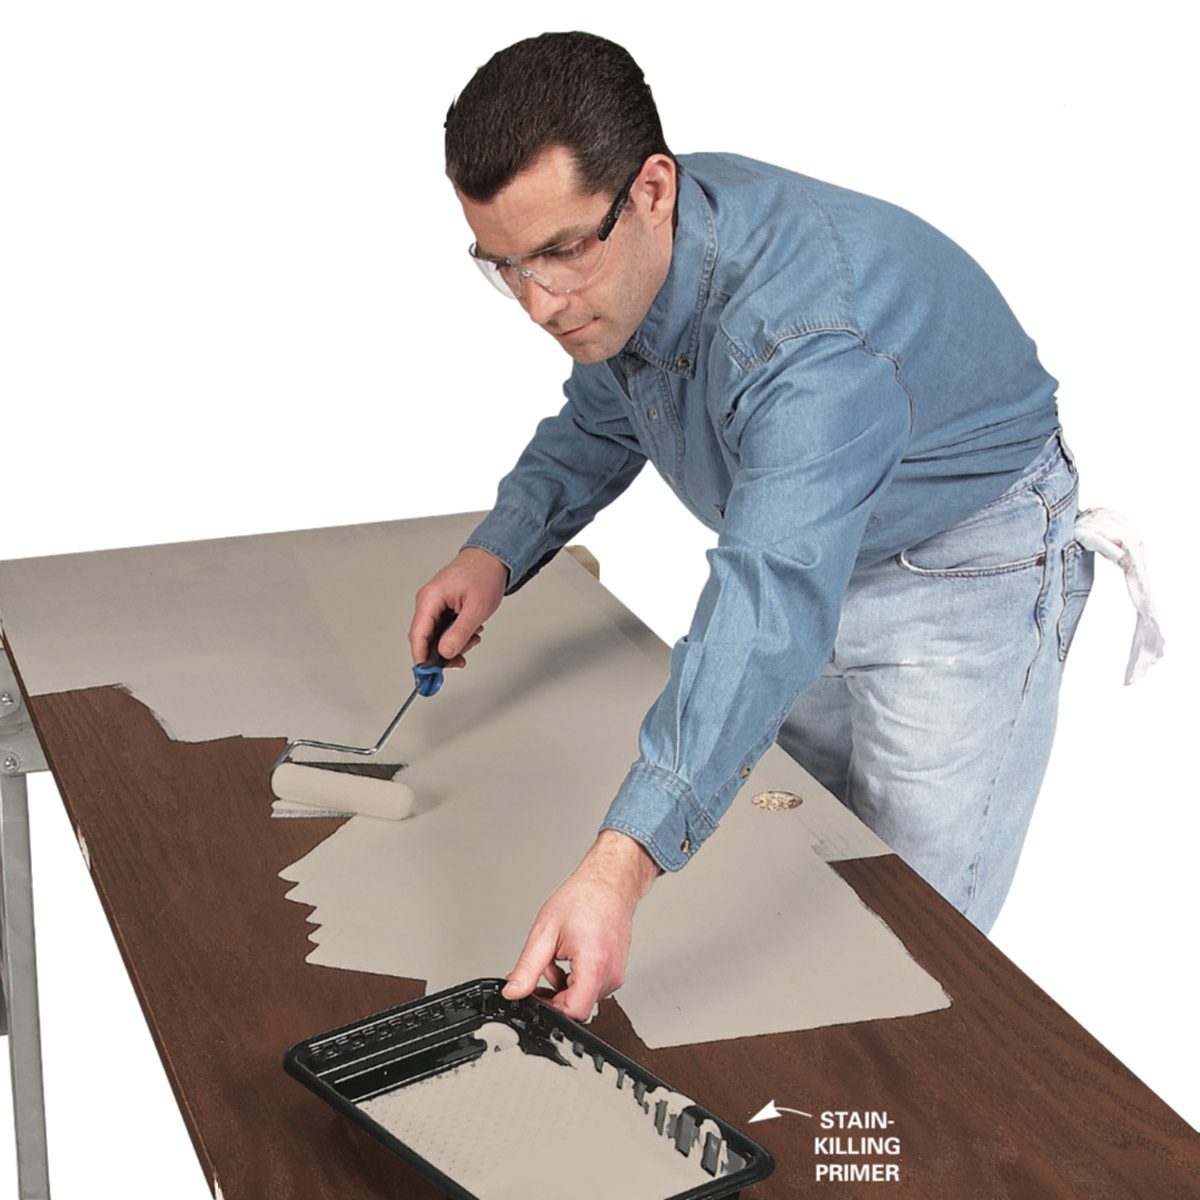
Give a quick clean of the varnished wood. Use putty filler and a scraper or putty knife to fill in any cracks holes or imperfections in the furniture. Apply stain-blocking primer to the trim.
Here Is Everything You Need To Know About Varnish And Pu Paint Let S Wood
3 Tips For Painting Over Polyurethane Or Varnish The Handyman S Daughter
How To Sand Furniture Before Painting Hgtv
How To Prepare Wood For Varnishing Owatrol Ireland

How To Paint Over Varnished Wood Woodwork Made Easy
Can You Paint Over Stain It S Not That Complicated Brad The Painter
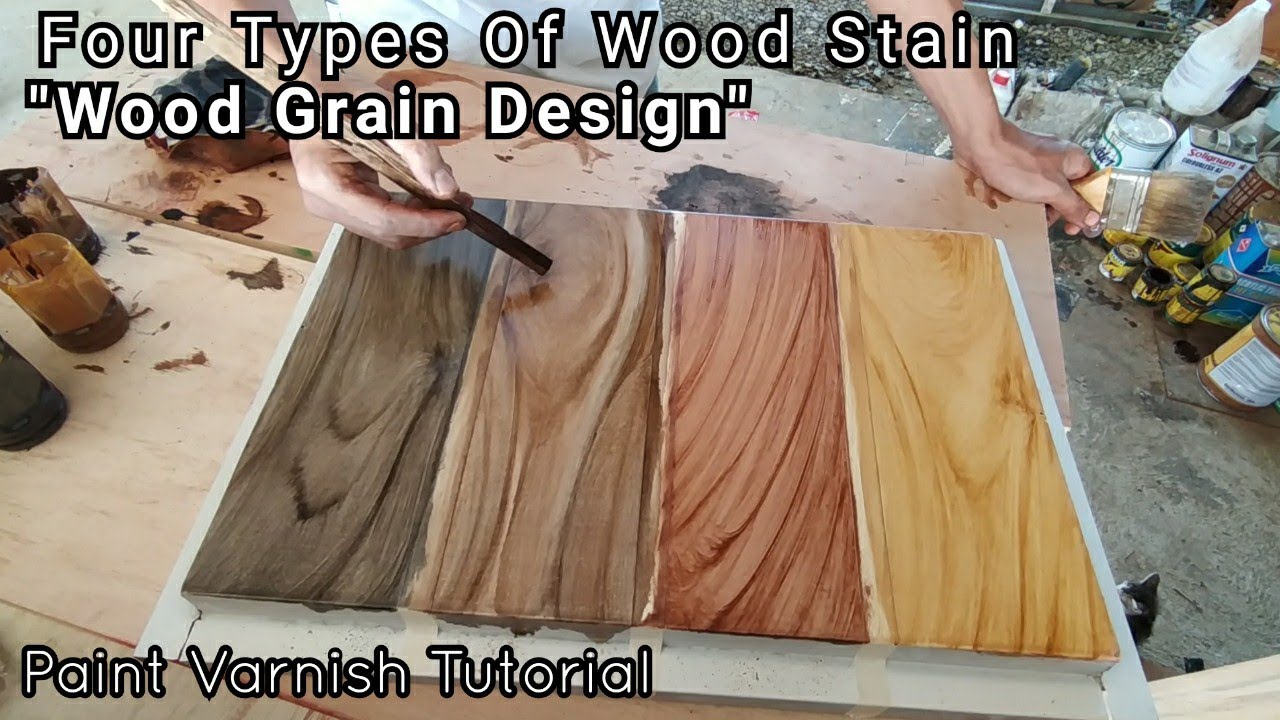
Wood Grain Design With Tinting Color Step By Step For Beginners Youtube
Door Refinishing Painting Varnished Doors Diy Family Handyman

Product Highlight Boysen Wood Varnishes Myboysen
Everything You Need To Know About Wood Oils Allfinishes Co Uk

Artist Pro Tips 8 Techniques For How To Varnish A Painting
2 Types Of Wood Panel For Painting Best Guide To Prep Paint And Hang
Learn How To Stain And Varnish A Wooden Sign Robertsign
